
With Datagran’s web pixel, a JavaScript tracker is provided to install on your website and start collecting granular data about your user’s interaction with your site. Prior to today, that collection of events used to be done in batch, but today, we’re pleased to announce a brand new feature call
While you’ll still be able to collect data in batch (sending data in batches), essentially to run machine learning models, with Real-Time Streaming you’ll be able to send events in real-time via Webhook (you will need to provide an endpoint).
How does it work?
In the image below, you can see how your data is extracted, processed and deployed using Webhook to be put into action as needed, for example, promotional communication for your customers, chatbots, and so on.

To integrate the web pixel, you must have access to your website’s code since you will need to insert a code snippet inside of a head section on your website. If you are using the snippet from Google Tag Manager, simply add the default tag containing our JavaScript code and set up filters in case you wish for this tag to be fired only on specific pages.
We capture the following events by default:
PAGE VIEWS: Fired for every page load.
FORM SUBMISSIONS: We capture the default event triggered when a form element is submitted. All data except passwords are collected.
LINK CLICKS: These include hyperlinks that take users to other sections of the site along with regular outbound links (that result in website exit).
OTHER HTML ELEMENT CLICKS: In addition to capturing hyperlink clicks, we also capture clicks on buttons, select, input, and text area elements.
For the advanced implementation including custom events and identify() click here.
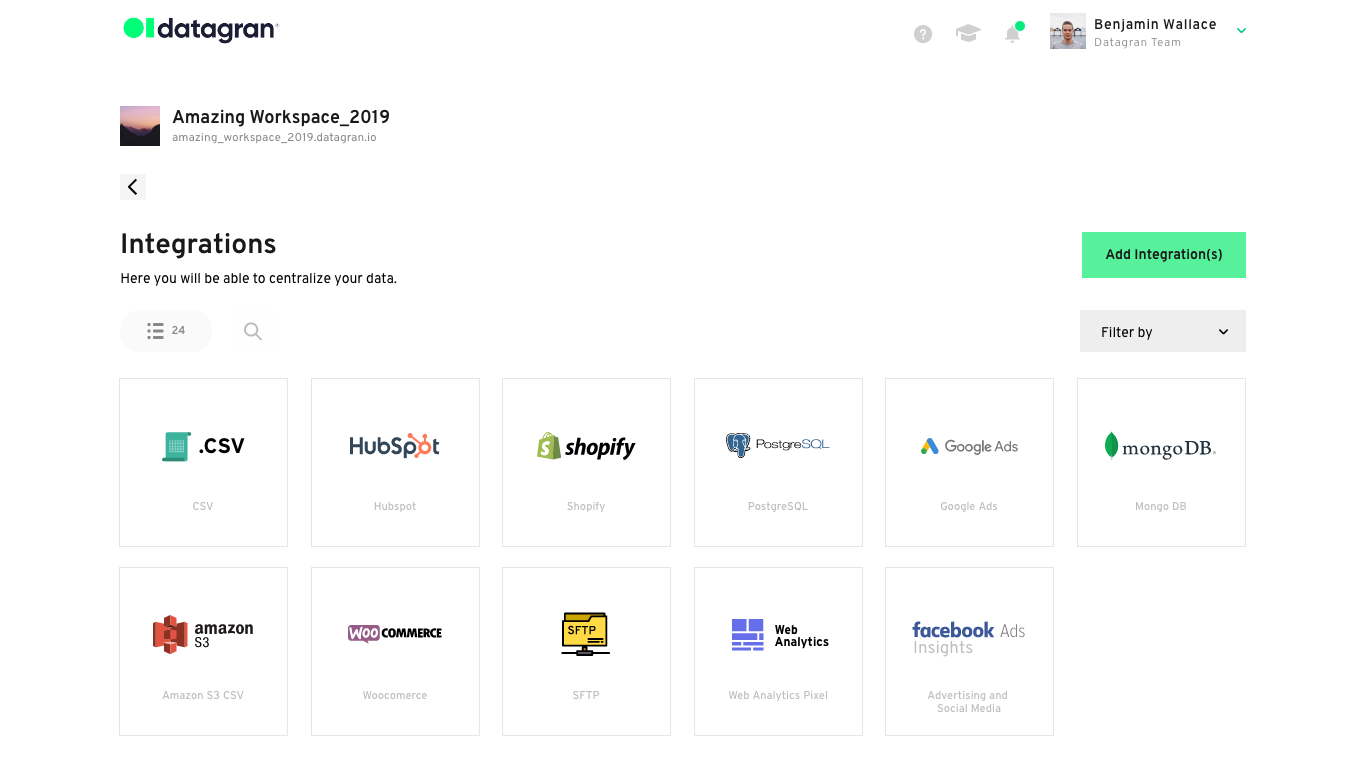
Integrate the Web Pixel
Head over to the Integrations section in your Datagran account. Look for the Web Pixel integration and click on it to set it up.
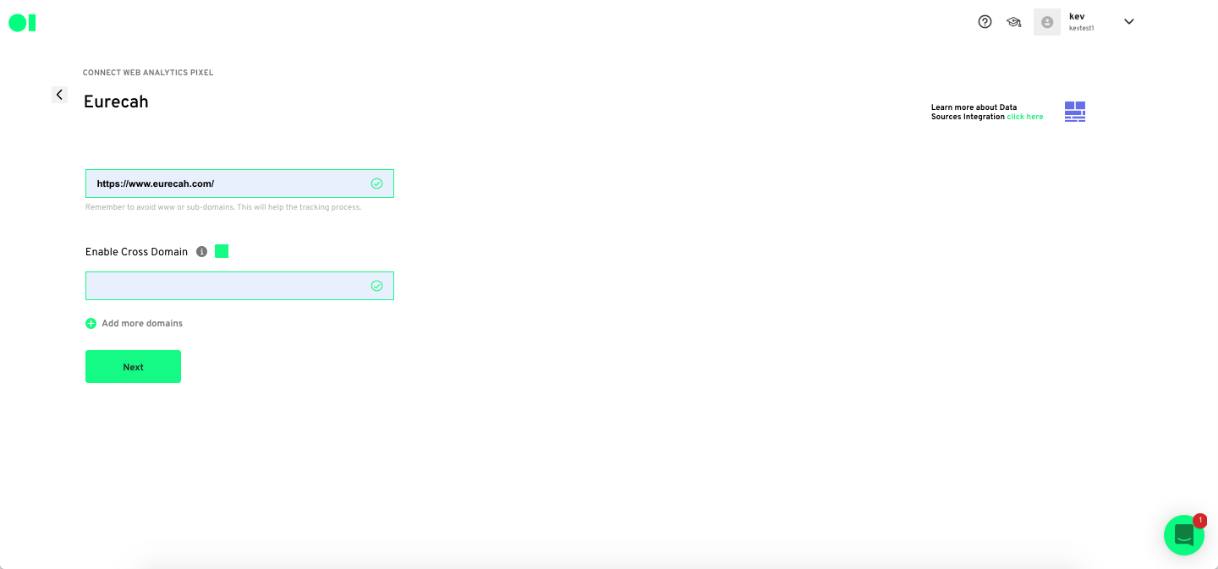
Name your Web Pixel integration and enable Cross-Domain. Make sure the domain name specified here, matches the domain on which the code snippet will be hosted. Click Next.
Copy the code snippet and paste it into your website’s head. Once the integration is complete, you can click on it to view its status.
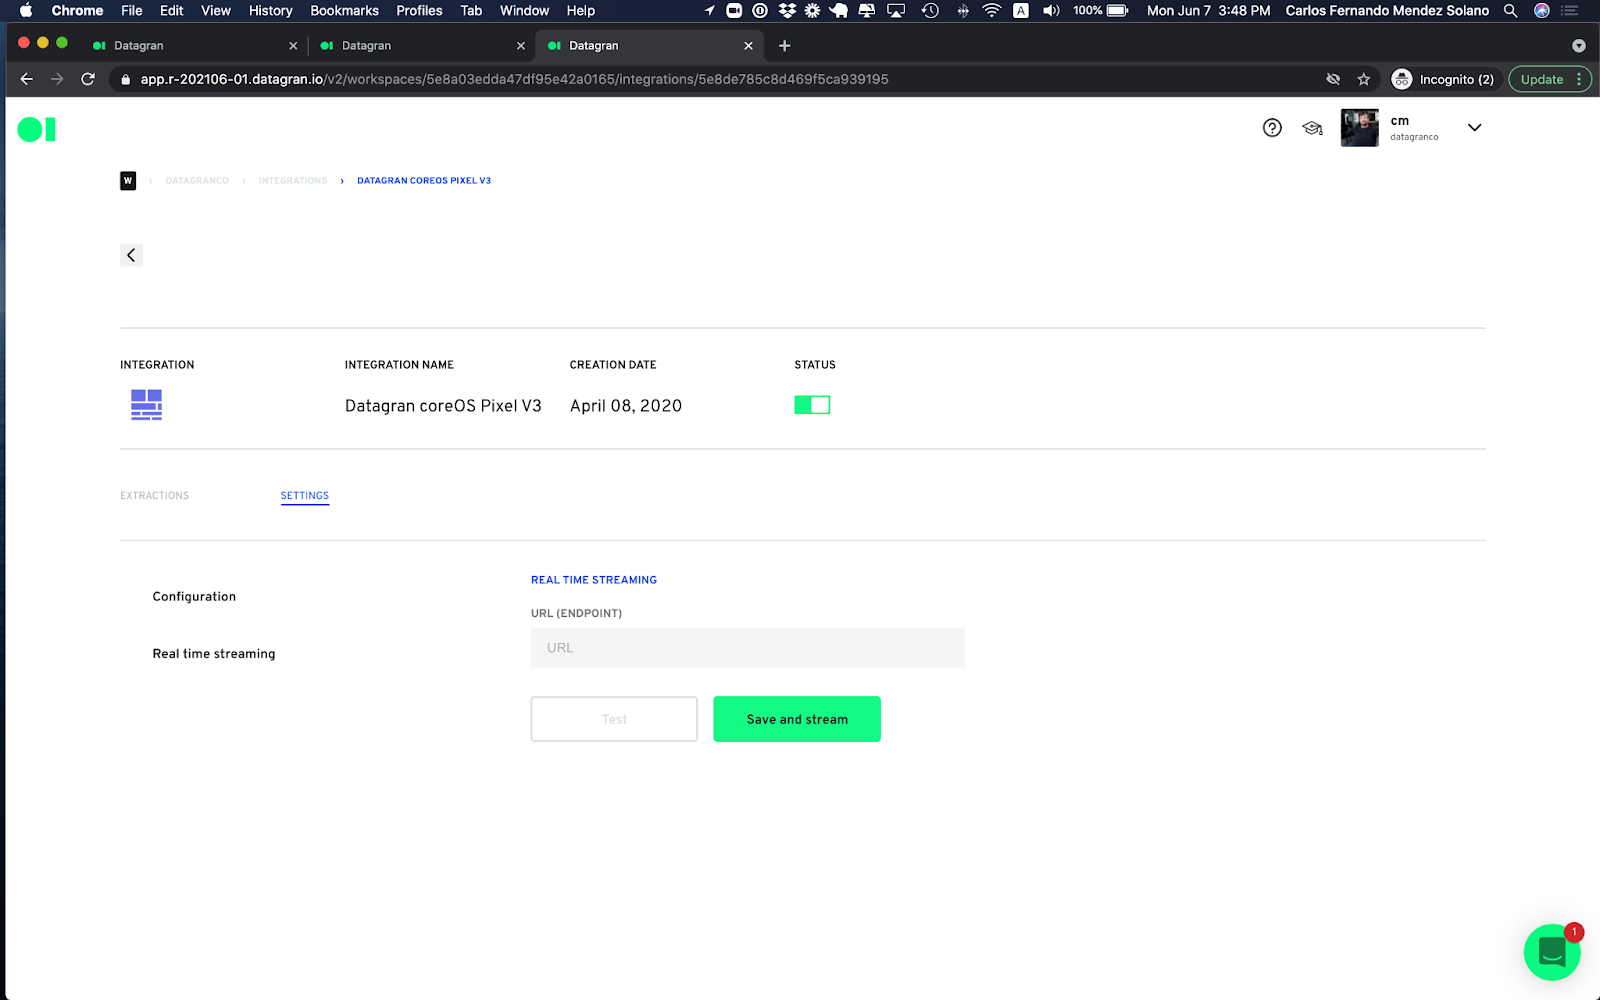
Once the web pixel is installed into your website and you verify the pixel is extracting data on the extractions tab you can now click on “Start Configuration” of your Real Time Streaming.

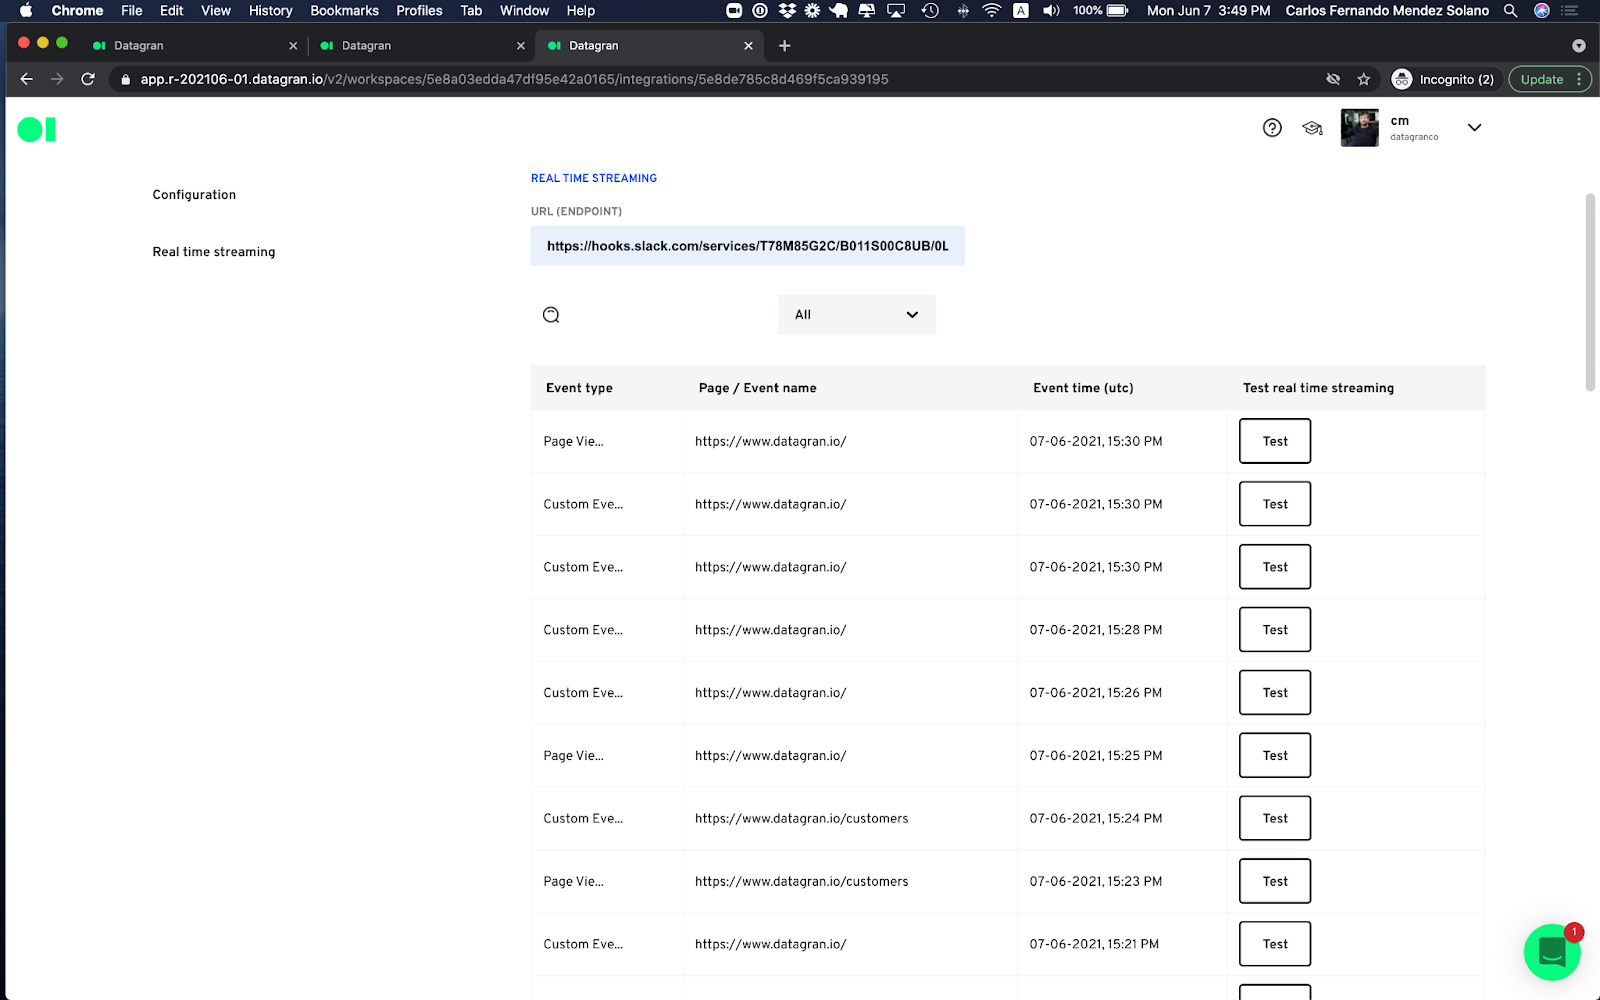
Real-Time Streaming is a great tool to keep your teams in line with what your customers are doing on your website to avoid missing valuable opportunities.

.jpg)

